
Stone Foundation Waterproofing in Canton, MA
Water coming through a basement wall after a storm. A damp patch in the corner that never fully dries, even in August. A section of fieldstone that bulges slightly or sheds mortar when you brush it. These are not cosmetic problems, and in a lot of the older housing stock around Canton, they trace back to the same thing: a foundation built before anyone waterproofed foundations at all.
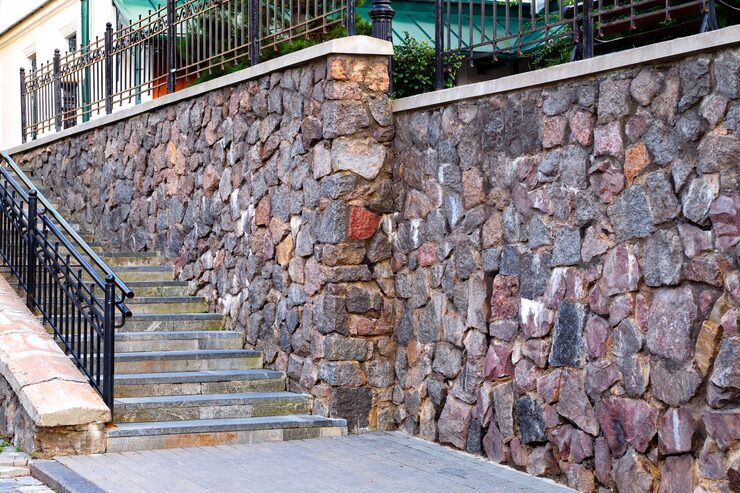
Many of the houses on the older streets closer to the center sit on fieldstone or rubble foundations, stacked or mortared stone with no membrane behind it and no perimeter drain at the footing. These walls were never built to stop water. They were built to hold up a house, and they rely on the ground around them staying reasonably dry. When that ground gets saturated, by heavy rain, by snowmelt, by a downspout dumping next to the wall, the water has nowhere to go but through the stone itself. It moves along mortar joints, through hairline cracks, sometimes straight through porous fieldstone. That is a different mechanism than a poured concrete foundation with a crack letting water in at one point. A stone wall leaks the way a sponge leaks, often in more than one spot at once, and the entry points on the inside do not always line up with the actual problem on the outside.
Interior sealants and interior drainage channels manage water once it is already inside. They can reduce what reaches the floor, but they do nothing to stop water moving through the wall itself, and a wall that stays wet for years keeps degrading, mortar washing out, stone shifting, a bow developing over time. Stopping that means going outside: excavating down to the footing on the affected side, treating the exterior face of the wall, and giving the water a path around the house instead of through it. It is more disruptive and more expensive than a tube of interior sealant, and it is the only approach that addresses why the wall is wet in the first place rather than where the water ends up.
On the sloping, post-war lots common around Canton, especially anything sitting below grade toward the Blue Hills side, the grading itself is often part of the problem. A house cut into a slope has water working downhill against one or two walls every time it rains, and that is usually where the damage shows up first. In these cases, the fix usually has to deal with both the wall and the land around it, not just one or the other.
A proper exterior job on a stone foundation generally involves a few distinct stages, and skipping any of them tends to shorten how long the fix lasts:


What Our Clients Say

What the work actually involves
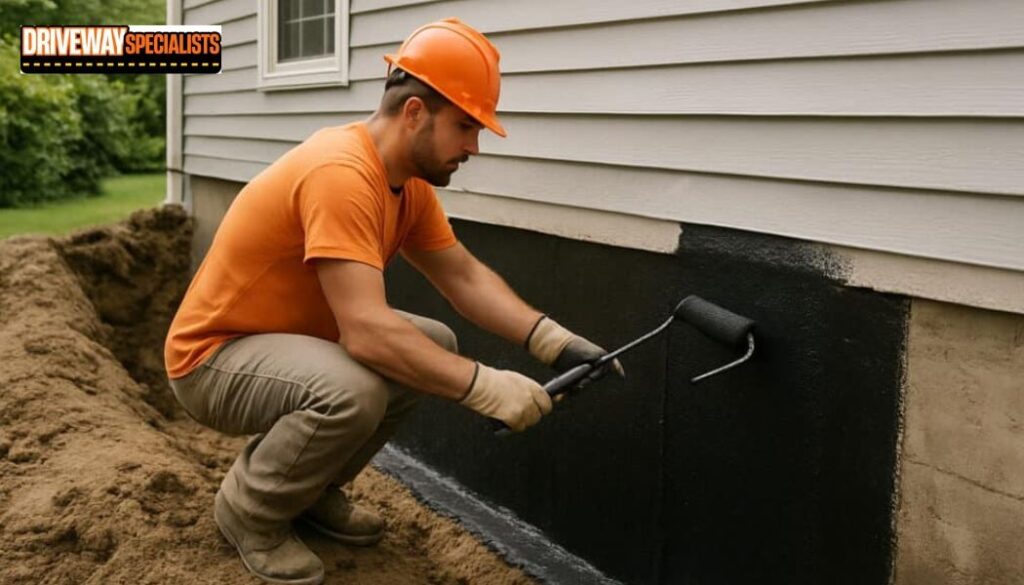
Exterior waterproofing starts with excavation along the problem wall, down to the footing. That trench exposes the stone so it can be cleaned, repointed where mortar has washed out, and treated on the exterior face before backfilling. A drainage line typically runs along the footing to carry water away from the wall instead of letting it pool against it.
Anything planted close to that wall, shrubs, foundation beds, small trees, usually has to come out before the machine can get in, and it does not go back in the same spot once the trench is backfilled and regraded.
Access decides the approach
On many Canton lots, especially the sloped ones near the Blue Hills side of town, the hard part isn’t the wall, it’s reaching it. A tight side yard, a retaining wall, a fence line, mature trees, or a drop in grade can keep an excavator from the exact side of the house that needs it. Some driveways and walkways sit close enough to a foundation that protecting them becomes part of the plan, not an afterthought.


Backfill, regrading, and what sits above it
Once the wall is treated and the drain line is in, backfill has to be placed and compacted properly, not just pushed back into the trench loosely. Poorly compacted backfill settles over months, which can leave a dip right along the foundation line that collects water again, undoing the point of the work.
Regrading the surface so it slopes away from the house is part of finishing the job properly, not an optional extra. On a sloped Canton lot that grading has to account for where water was already running before the excavation started, not just the few feet closest to the wall.
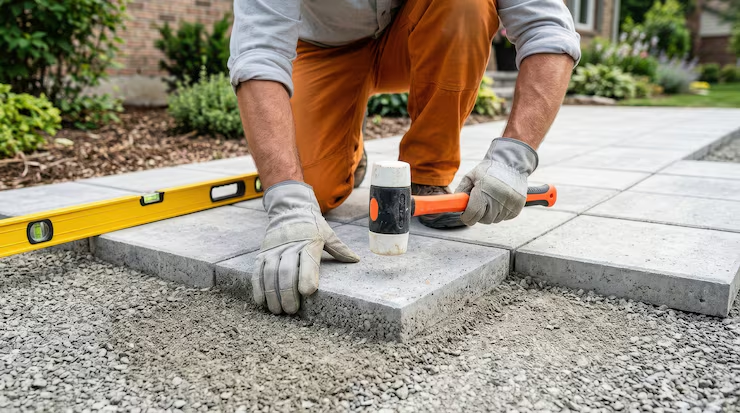
If the excavation runs under or alongside a walkway, patio, or section of driveway, that surface has to be removed before digging and rebuilt afterward. That is a separate scope from the waterproofing itself, and it is worth asking about up front rather than after the trench is already open, since it affects both the timeline and what the yard looks like when the crew leaves.
The work in sequence
Access and excavation
We locate the affected wall, clear a route to it and dig down to the footing. On a sloped lot the excavation also has to be supported so the ground above does not move. Digging exposes the real condition of the wall, which can differ from what the inside suggested.
Planting and hardscape
Shrubs, beds, steps and walks along the foundation are in the way of the trench. Some can be lifted and replanted. Some will not survive the move, and stone or paved surfaces are taken up and set aside or replaced. We will walk the area with you before any digging so you know what is staying and what is not.
Wall treatment
Once exposed, the wall is cleaned and assessed. Loose stone is reset and failed mortar is cut out and repointed. A membrane is applied to the outside face so water meets a barrier instead of an open joint. How much repair a wall needs depends on how much it has deteriorated, and that is rarely known until it is open.
Drainage and backfill
At the base of the wall, a drain carries water away from the footing to somewhere it can safely go. On a hillside lot, where that is can be the hardest question on the job. Backfill goes in with material that lets water pass down to the drain rather than pooling against the wall.
Reinstating the ground
The soil is graded back so that water runs away from the house. This is where the surface above the repair matters most.
Before anyone comes out to look
A few things are worth checking and writing down first: which wall the water enters, whether it appears right after rain or days later, whether a downspout or sloped surface directs water toward that spot, and whether the dampness is new or has been happening for years. That detail narrows down the cause faster than a first look at a dry wall ever can.
If you’re dealing with a wet basement, a damp corner that won’t clear, or a stone wall that looks like it’s starting to give, call Driveway Specialists at (413) 337-3772 to talk through what you’re seeing and what it would take to look at it.
Pointers before anyone comes out
Most of this is observation, and it makes any visit more useful.
- Note when it happens. Is it after heavy rain, after snowmelt, or all the time? The pattern points to where the water is coming from.
- Photograph it. Take photos of the wall, the floor and the staining, with something for scale. Date them and repeat after the next rain.
- Mark the spot. Note which wall and which corner. Match it to the outside: which side of the house, and what is above it.
- Walk the outside. Look at where gutters discharge, which way the ground slopes at the foundation, and whether water pools after rain.
- Check the downspouts. Water dumped beside the wall adds to the load. Make sure they are not blocked or emptying near the foundation.
- Look at the stone and mortar. Powdery mortar, bulging or gaps are worth recording. Do not poke at a bowing section.
- Clear what you can. Move stored items away from affected walls so they can be seen and reached.
- Think about access. Where could a machine come in? Is anything shared with a neighbour?
Questions we get asked
Is this the same crew that does driveway and paving work?
Foundation waterproofing is a separate scope of work from paving. Driveway Specialists handles both, but a wet foundation is treated as its own job with its own sequence, not an add-on to a paving project.
Can interior sealant fix a leaking fieldstone wall?
Interior coatings can reduce how much water reaches the floor, but they don't stop water moving through the wall itself. On fieldstone and rubble foundations, the water source is outside, so the lasting fix is exterior excavation and drainage, not an interior product.
What happens to my landscaping during the work?
Anything planted close enough to the foundation to be in the way of excavation has to come out before digging starts. Depending on the plant and how close it is to the trench, it may not be practical to put it back in the same spot afterward.
Does my driveway or walkway need to be removed?
Only if it sits directly over or alongside the section being excavated. If the affected wall is on the opposite side of the house from the driveway, it typically won't be touched.
How do I know if my problem is the foundation or just surface drainage?
Surface water pooling in the yard after rain is a grading issue. Water or damp actually showing up on an interior basement wall, especially tracking with a specific section of stone, points to the foundation itself. A look at both the inside and outside of the affected wall is the way to tell them apart.
Next step
If water is coming through an older stone foundation in Canton, we will come and look at the wall and the way in. We have worked on homes like yours for 35+ years, and the family has been doing it since 1988.