
Stone Foundation Waterproofing in Franklin, MA
Water coming through a basement wall, a damp corner that never fully dries out, a section of fieldstone that is bowing or has started to crumble between the joints — these are not cosmetic problems. They are signs that the foundation itself is no longer keeping ground water out, and they tend to show up every spring when the frost comes out of the ground and the soil around the house is saturated.
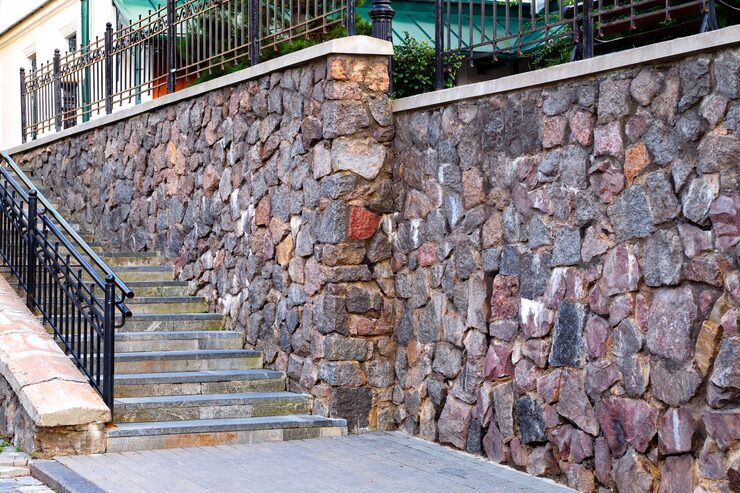
Franklin has a mix of housing stock that makes this page relevant to two different kinds of calls. There is the heavy wave of subdivision construction from the 1990s and 2000s, with poured concrete foundations on large lots and wide drives — those houses rarely have this problem yet. Then there are the older homes on Franklin’s original roads, built well before poured concrete foundations were standard, sitting on fieldstone or rubble-stone walls laid up dry or with lime mortar. Those walls were never built to be watertight. They were built to hold the house up, and for decades they did that fine, as long as the ground around them stayed reasonably dry.
Why water moves through the wall, not under it
A fieldstone or rubble foundation has no membrane and usually no perimeter drain at the footing. The wall itself is porous — water finds the mortar joints, the gaps between stones, and any spot where the parging has failed, and it moves straight through to the inside face. This is different from a cracked poured-concrete wall leaking at a single point. With stone, water entry is often spread across a whole section of wall, which is why it can look like general dampness rather than one obvious leak.
Once that water is inside, the house has a moisture problem that will not resolve on its own. Sealing the interior face with a coating or running a sump pump manages what happens after the water gets in. It does nothing to stop the water from reaching the wall in the first place, and in a lot of cases it just pushes the moisture to find a new path through the stone. The wall keeps getting wet, the mortar keeps washing out a little more each winter, and the structural question — is this wall still doing its job — doesn’t go away.
Treating the cause means working from outside: excavating down to the footing on the affected side, addressing the wall itself, and putting in drainage that actually carries water away from the foundation instead of letting it pool against it. It is a bigger job than an interior fix, and it is disruptive to the yard while it’s happening. That trade-off is worth being honest about upfront, because it’s the real decision a homeowner is making.


What Our Clients Say

The Work in Sequence
The job starts with excavation along the affected wall, down to the footing. Whatever is planted or built against that section — shrubs, a patio, a short run of walkway — has to come out or be worked around, and it’s usually better to plan for removal than to try to protect it in place.
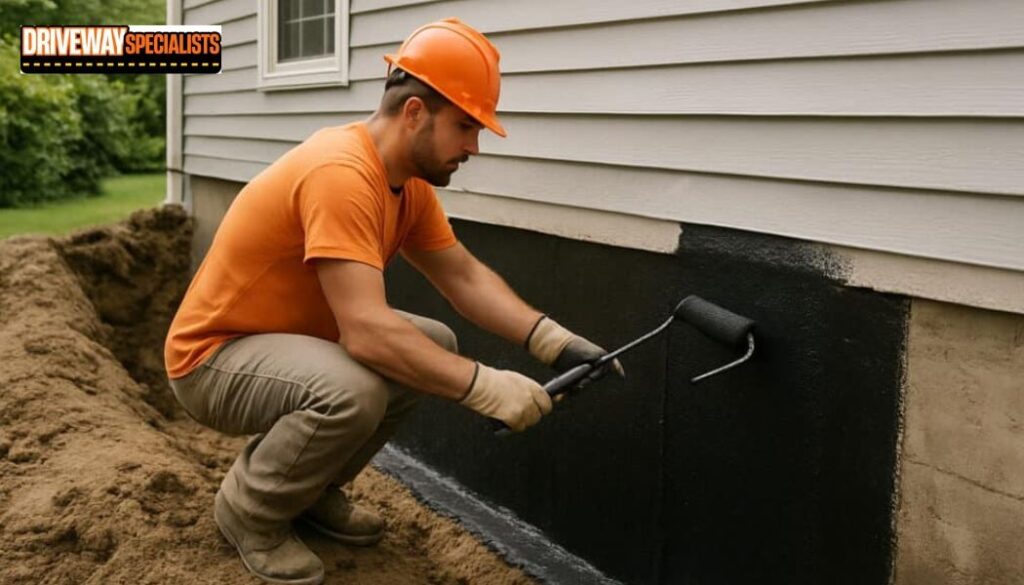
With the wall exposed, loose or failed mortar gets raked out and the stone face is treated and sealed before a drainage layer and membrane go on. Then a perimeter drain at the footing carries water to daylight or a sump, and the excavation gets backfilled with material that drains instead of holding water against the wall again.
Why Access Decides the Approach
On the kind of lots common in Franklin’s newer subdivisions, a wide drive and open side yard usually mean a mini-excavator can get right up to the stone foundation wall, which keeps the job faster, the spoil pile manageable, and the hand-digging to a minimum. On the older in-town lots, where houses sit closer together on narrower frontage, that same machine may not fit down the gap, and more of the dig has to be done by hand, shovel by shovel, along the footing. That difference changes the timeline, the labor cost, and how much of the yard gets disturbed, and it’s one of the first things worth assessing before any price gets discussed.
Either way, whatever sits in the excavation path — fencing, a hose bib, a stretch of lawn, buried utility lines, or an AC pad — needs to be identified and flagged before the digging starts, not during it.


Regrading, Hardscape, and What Happens at the Surface
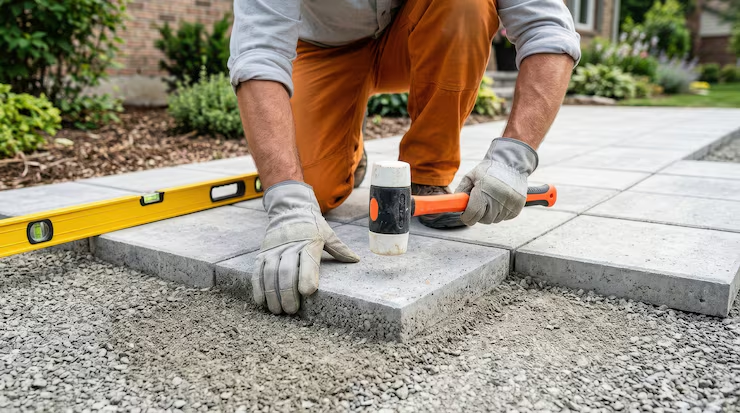
Once the wall and drain work are done, the surface has to be rebuilt so water sheds away from the house instead of settling back against the foundation. That usually means regrading near the wall with a real slope away from the structure, not just filling the trench flush with the existing yard. If a walkway, patio, or section of driveway sat over the excavated area, it has to come out before digging and get rebuilt afterward — and in a lot of older Franklin properties, that hardscape was never graded correctly to begin with, which is part of why water was reaching the wall in the first place.
This is also the point to look at downspouts and surface drainage more broadly. A perimeter drain at the footing handles water already reaching the wall below grade, but roof runoff landing right at the foundation will keep adding to the problem unless it’s redirected too. Getting the grading and drainage right at the surface is what keeps the underground work from needing to be redone in a few years.
The work in sequence
Access and excavation
We locate the affected wall, clear a route to it and dig down to the footing. On a sloped lot the excavation also has to be supported so the ground above does not move. Digging exposes the real condition of the wall, which can differ from what the inside suggested.
Planting and hardscape
Shrubs, beds, steps and walks along the foundation are in the way of the trench. Some can be lifted and replanted. Some will not survive the move, and stone or paved surfaces are taken up and set aside or replaced. We will walk the area with you before any digging so you know what is staying and what is not.
Wall treatment
Once exposed, the wall is cleaned and assessed. Loose stone is reset and failed mortar is cut out and repointed. A membrane is applied to the outside face so water meets a barrier instead of an open joint. How much repair a wall needs depends on how much it has deteriorated, and that is rarely known until it is open.
Drainage and backfill
At the base of the wall, a drain carries water away from the footing to somewhere it can safely go. On a hillside lot, where that is can be the hardest question on the job. Backfill goes in with material that lets water pass down to the drain rather than pooling against the wall.
Reinstating the ground
The soil is graded back so that water runs away from the house. This is where the surface above the repair matters most.
What to Check Before Calling
Before anyone comes out, note where the water or dampness actually appears on the inside wall, whether it tracks with rain or shows up days later, and whether the ground outside that section slopes toward the house. Check gutters and downspouts nearby, and see if a downspout empties close to that stretch of foundation. Photos of the exterior grade, visible cracking, bulging stone, or crumbling mortar joints are useful too, along with any history of past patch jobs or sealant work on that wall.
Pointers before anyone comes out
Most of this is observation, and it makes any visit more useful.
- Note when it happens. Is it after heavy rain, after snowmelt, or all the time? The pattern points to where the water is coming from.
- Photograph it. Take photos of the wall, the floor and the staining, with something for scale. Date them and repeat after the next rain.
- Mark the spot. Note which wall and which corner. Match it to the outside: which side of the house, and what is above it.
- Walk the outside. Look at where gutters discharge, which way the ground slopes at the foundation, and whether water pools after rain.
- Check the downspouts. Water dumped beside the wall adds to the load. Make sure they are not blocked or emptying near the foundation.
- Look at the stone and mortar. Powdery mortar, bulging or gaps are worth recording. Do not poke at a bowing section.
- Clear what you can. Move stored items away from affected walls so they can be seen and reached.
- Think about access. Where could a machine come in? Is anything shared with a neighbour?
Questions we get asked
Can this be fixed from inside the basement instead of digging up the yard?
Interior coatings and drainage channels manage water once it's already inside, but they don't stop it from moving through the stone wall. With fieldstone and rubble foundations, lasting results come from excavating outside, treating the wall, and installing drainage at the footing. Interior work can be a short-term step, but it isn't a substitute for the exterior fix.
Will this damage my landscaping or driveway?
Anything planted or built right against the affected wall section will likely need to be removed before excavation and rebuilt afterward. The extent depends on how close plantings, patios, or paving are to the foundation, and that's assessed on site before work starts.
How do I know if it's the foundation and not something else, like a plumbing leak?
Water that tracks with rainfall, appears along the base of a stone or rubble wall, or shows up in the same spot every spring after frost is typically foundation-related rather than plumbing. A site visit can usually confirm the source before any excavation is planned.
Does every old house in Franklin have this problem?
No. Many older fieldstone foundations have held up fine for decades, especially where the surrounding grade sheds water well. The risk rises where grading has changed over time, gutters discharge near the wall, or the mortar has visibly started to wash out.
Next step
If water is coming through an older stone foundation in Franklin, we will come and look at the wall and the way in. We have worked on homes like yours for 35+ years, and the family has been doing it since 1988.